
If you have purchased a new TP-Link router, setting up the router and configuring it is really easy. You can easily set up your new WP-Link Wi-Fi router and use it.

Note: To connect to the Internet, the router must be connected to an active modem or data jack.
Follow this guide to configure your new TP-Link router:
- Turn on the router and connect your PC to the router using an Ethernet cable.
- Once connected, open a web browser and go to 192.168.0.1 or www.router-wifi.com.

- Set your router’s login password by entering it twice. It is preferable to keep it simply, “admin”.
- Click on Let’s get started/Log in.
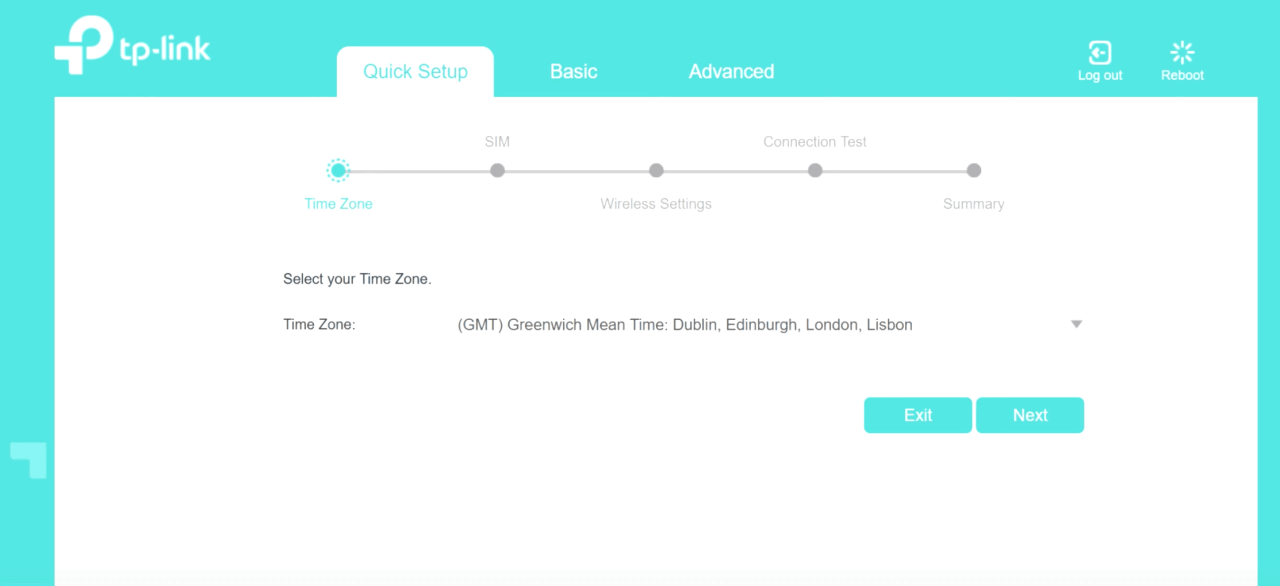
- Now, follow the on-screen instructions and configure your wireless network and Internet using the Quick Setup option.
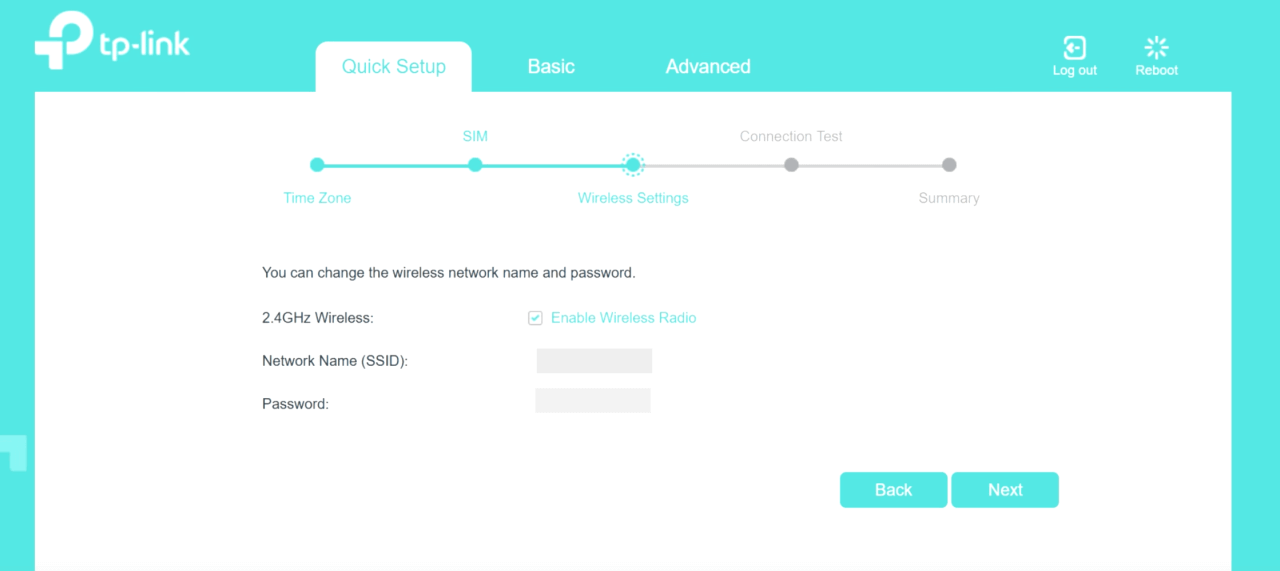
- Enter the name (SSID) for your wireless network in the corresponding field and also set a password to secure your Wi-Fi network.
- Now, you can finish the process, after which you will be able to join the wireless connection with the SSID using your password.
TP-Link login with an IP address of 192.168.1.254
Contenidos de Ayuda
- Open a web browser on your computer connected to your local network.
- Type the IP address 192.168.1.254 in the address bar and press Enter.
- You will be prompted to enter a user name and password. The default user name is admin and the default password is admin.
- Once you have entered the login information correctly, you will see the TP-Link router administration interface.
- Now you can customize, configure and manage your TP-Link router.


